Alright, Great Falls homeowners, let's talk about storm damage. It's not a matter of 'if' but 'when' you'll deal with it around here. One minute it's sunny, the next you've got hail the size of golf balls or winds tearing through like a freight train. When that happens, you need a plan, and you need to know what you can actually handle yourself versus when to call in the pros.
Before the Storm Hits: Be Prepared, Not Scared
You can't stop the weather, but you can get ready for it. This isn't just about boarding up windows; it's about knowing your home and your insurance. Seriously, this step saves you so much grief down the road.
- Know Your Policy: Dig out your homeowner's insurance policy. Understand what's covered for wind, hail, and water damage. What's your deductible? Do you have actual cash value or replacement cost coverage? These details matter big-time when you're filing a claim. If you don't know, call your agent *before* you need them.
- Document Your Home: Take pictures or videos of your roof, siding, windows, and anything else exposed to the elements. Do this once a year, or after any major home improvement. It's proof of the condition *before* the storm, which helps immensely with insurance claims.
- Emergency Contacts: Keep a list of trusted local contractors – roofers, general contractors, plumbers – in your phone and on paper. Don't wait until you're scrambling after a disaster. I'm talking about folks like us at Top Line Roofing Great Falls. Having a reliable name ready means you're not just picking the first guy who knocks on your door.
Immediately After the Storm: Assess and Protect
Okay, the storm's passed. First, make sure everyone's safe. Then, it's time to take a look, but be smart about it.
- Safety First: Don't go climbing on a damaged roof if it's still windy, wet, or if you're not comfortable. Seriously, a fall isn't worth it. Look from the ground with binoculars. Check for downed power lines, gas leaks, or structural damage before you even step outside.
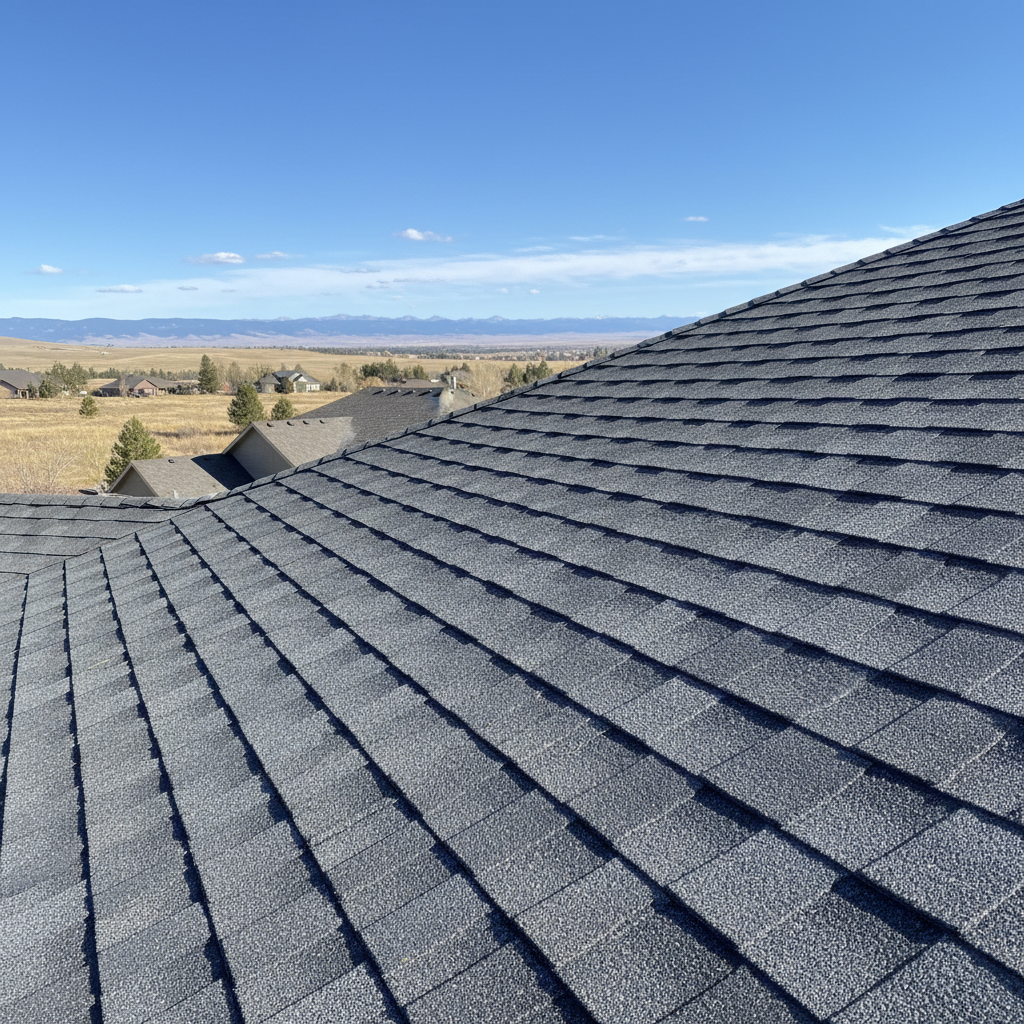
- Initial Assessment (From the Ground): What can you see? Missing shingles? Dents in gutters? Damaged siding? Any trees on your house? Take pictures of *everything* you see that looks out of place. These are your initial claim photos.
- Temporary Fixes (DIY vs. Pro): This is where you might do some work. If you have a small, obvious hole in your roof and it's safe to get up there, you can temporarily tarp it to prevent further water intrusion. You can buy tarps and roofing nails at any hardware store. Make sure the tarp extends well beyond the damaged area and is securely fastened so it doesn't blow away in the next gust. For anything more complicated – a large hole, structural damage, or if you're just not comfortable on a ladder – call a professional immediately. Water damage inside your home gets expensive fast.
- Document Interior Damage: If water is coming in, take pictures of that too. Buckets are your friend. Move furniture and valuables to prevent further damage.
The Repair Process: Working with the Pros and Your Insurance
This is where most homeowners need a lot of help. Dealing with insurance companies and coordinating repairs can be a full-time job.
- Contact Your Insurance Company: File your claim as soon as you've done your initial assessment and temporary fixes. They'll give you a claim number and assign an adjuster.
- Get Multiple Estimates: Don't just go with the first contractor who shows up. Get at least two or three detailed estimates from reputable, local companies. Make sure they specify what materials they'll use, the scope of work, and their warranty. A good contractor will be happy to walk you through their estimate and answer all your questions.
- Working with the Adjuster: Your insurance adjuster will come out to inspect the damage. It's a good idea to have your chosen contractor present during this inspection. They can point out damage the adjuster might miss and advocate for a fair assessment of the work needed. We do this all the time for our clients at Top Line Roofing Great Falls. We know what adjusters look for and how to properly document everything.
- Review the Scope of Work: Once the insurance company approves the claim, they'll issue a 'scope of work' detailing what they'll pay for. Compare this to your contractor's estimate. If there are discrepancies, your contractor can help you negotiate with the insurance company for supplemental payments if necessary.
- Permits and Regulations: For major repairs, especially roofing, you'll need permits from the city. A good contractor will handle all of this for you. Don't try to skip this step; it can lead to problems down the road when you try to sell your house.
- The Repair Itself: Once everything's approved, the work begins. Stay in communication with your contractor. Ask questions. Understand the timeline. A reputable contractor will keep you in the loop.
- Final Inspection and Payment: Once the work is done, do a thorough walk-through with your contractor. Make sure everything is completed to your satisfaction and matches the agreed-upon scope. Your insurance company will typically release final payments after the work is complete and you've signed off.
Look, storm damage is a headache. But by being prepared, acting quickly, and knowing when to call in the experts, you can get your home back in shape without losing your mind or your shirt. We've seen it all, from wind-sheared roofs in the Valley West neighborhood to hail-pocked siding across town. We're here to help when you need us.